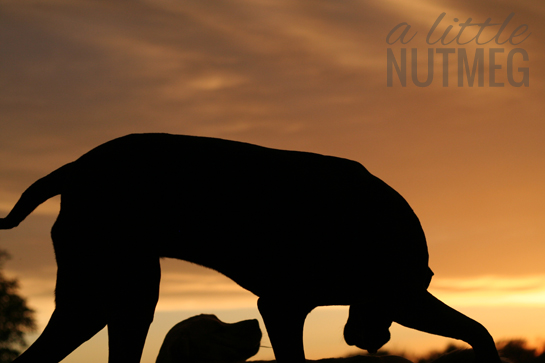
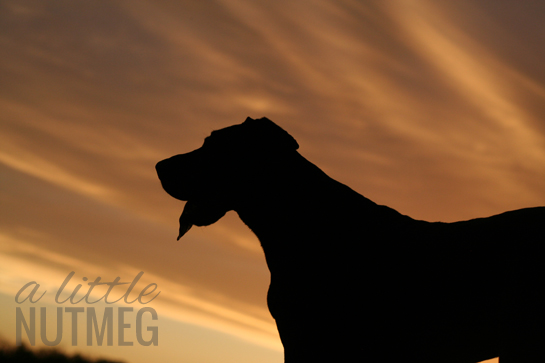
I have always been fascinated by silhouette photography. So much can be shown about the subjects when only their outline is visible. Like the picture above of my Great Dane, Bella. Her majestic silhouette hints at the nobility of the breed. Attentive, protective, alert. That is my Bella. She also happens to be goofy, klutzy and sassy. That can be showcased below in the picture of Bella tussling with her brother, Beau.
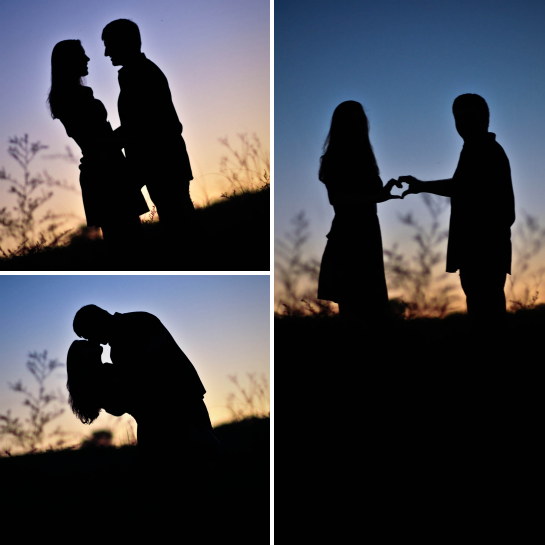
I was inspired by our own engagement pictures taken by the very talented Megan Rogers from Over the Rainbow Wedding Photography. The Over the Rainbow Wedding photography duo, Megan and Sarah Long are both fantastic photographers and I am often inspired by their work. The photos below were snippets from our engagement photoshoot.
Basic Silhouette Tips:
1. Back lighting is key in creating silhouettes. Your subject must be between you and your light source. In this case, the setting sun was behind my dogs.
2. Dusk is the best time of day to shoot silhouettes. The time period right before the sun sets creates a nice back light and of course produces gorgeous background colors.
3. No Flash. It must be turned off. Your flash will fill in the silhouettes and ruin the effect.
4. Open skyline. You want there to be contrast between your dark subject and the lighter background. Unless your subject is a line of trees or the silhouette of buildings, open spaces work better.
5. Get low. You see more of your subject the lower your get. More sky = more subject. But play around with it. I was on my stomach for the photos of the dogs.
6. Focus directly on your subject.
For the more Advanced:
1. Higher aperture. This will allow the background to be sharp, as well as the subject.
2. Shutter Speed. You will most likely need a slower shutter speed because of the time of day. But play around with it.
Let me know if you found this tutorial helpful or if you have any questions. You don’t need to know manual mode to take silhouette photos but it does help. So get out your camera’s manual and learn about shutter speed, aperture and ISO. It has already helped my photography immensely. So have fun playing around with the silhouette effect and I hope this post challenges you to be creative and continue learning. Peace out.